-8.png?height=120&name=Oneserve%20logo%20(white)-8.png)
Summary
The homepage is your first destination whenever navigating to analytics from here you can view a list of all your analyses, dashboards and reports in one place.
From this page, you can view, manage, share and delete created items.
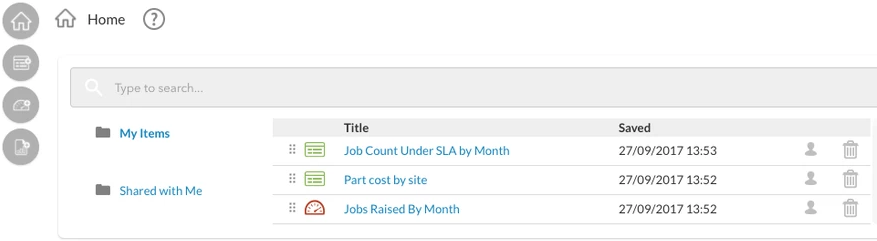
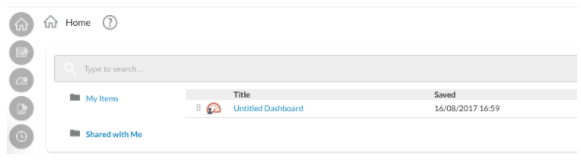
Above is an example of the Analytics homepage;
The icons on the left-hand side are menu options for different features within the application, the home icon at the top of the menu will always return you to this page and the grey "Question Mark" icon will display helpful text describing the application features.
Guide
Managing Items
Once you create an analysis, dashboard, or report it appears as an item, within the list on the homepage:
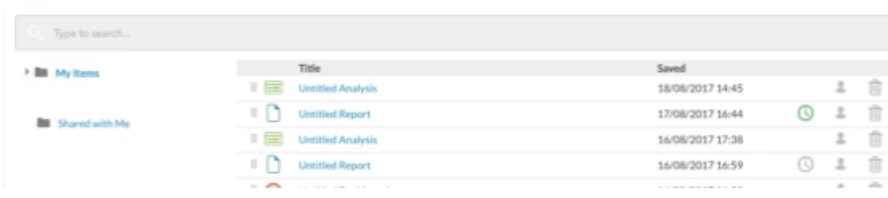
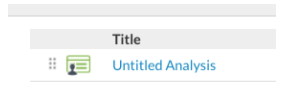
List items include icons which enable you to identify the item type (analyses, dashboards and reports), share an item(see below for more information), schedule an export (please see Exporting Reports below for more information) or delete the said item.
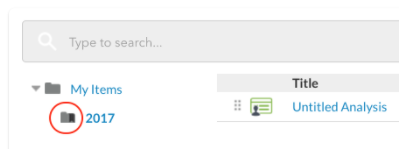
The items have been automatically filed in a folder called My Items, which you can see on the left above. This is your private folder and maybe all the organisation you need.
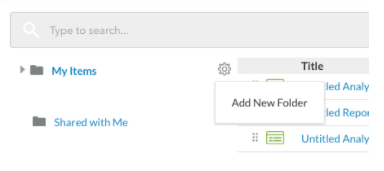
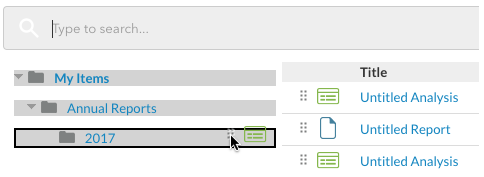
However, you can create sub-folders and move your items into them, for more organisational flexibility. As shown above, hovering the mouse cursor over a folder entry will cause a gear icon to appear and clicking it will let you add a new folder beneath it.
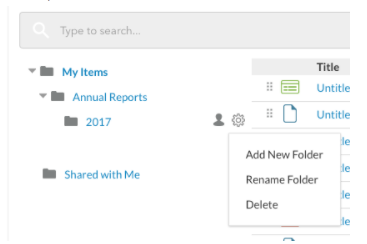
In the example above, we've added two levels of sub-folders - select a folder to see what it contains or select its gear icon to create sub-folders, rename the folder or delete it and its contents.
To move an item from one folder to another, just drag its "drag" icon to the desired folder, as shown below - You can even drag a folder (and all its contents) into another folder.
Sharing Individual Items
Individual reports, dashboard, and analyses that appear in your folders can be shared.
In the list of items in a folder, each item has a share icon, a grey share icon means the item has not been shared with anyone, and a green one indicates it has been - select the icon to manage sharing.

In the share panel, shown above, you select users to share this item with - You can see this item has already been shared with user "IT Admin".
To search for a specific user, type a name in the ‘Find’ text box and matching usernames will be displayed for you, select the icon by the name of the user you want to share this item with - Repeat as necessary for each user.
Select the Bin icon to remove that user from the sharing list and stop sharing the item with them.
Items that are shared with someone else (or with you) will be in their ‘Shared with Me’ folder, select the folder to see its contents.
For example, the user IT Admin would see the report we shared with them earlier - If they hover their mouse cursor over the item, they will also be able to see who shared the item with them.
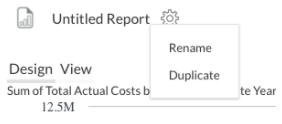
Unless you've been given a special role as a "Report Manager", you can't edit items that have been shared with you. You can, however, open them and use the item's gear menu to duplicate it - This will save a copy of it to your My Items folder, where you can open and edit the copy.
Sharing Folders

In much the same way as sharing items, you can also share entire folders and their contents.
If sharing is enabled, folders will have a share icon which you can select - The same icon colours apply here (grey = not shared, green = shared)
For example, if you shared the "2017" folder with user "IT Admin", then they would see the folder and its contents - Notice that the item's icon indicates that it's shared and any new items you moved into your 2017 folder later on would also show up in the shared folder.
Finally, you can also drag a folder from the Shared with Me folder into one of your folders - This creates a folder shortcut with a special icon, as shown above, which can save you the trouble of having to drill-down through many levels of shared folders to get to a folder you use often.