-8.png?height=120&name=Oneserve%20logo%20(white)-8.png)
Summary
Surveys can be associated to a job on a one-off basis, automatically added when created from the type of work (e.g. customer satisfaction survey for reactive work) or associated to an asset that is on the property and can be collated when a job is raised.
The steps by step guides below include:
- Adding a one-off survey to a job
- Updating a survey within the desktop application
- Printing a survey
Guide
Adding a one-off survey to a job
If you wish to add an ad-hoc survey that has already been created by your administrator:
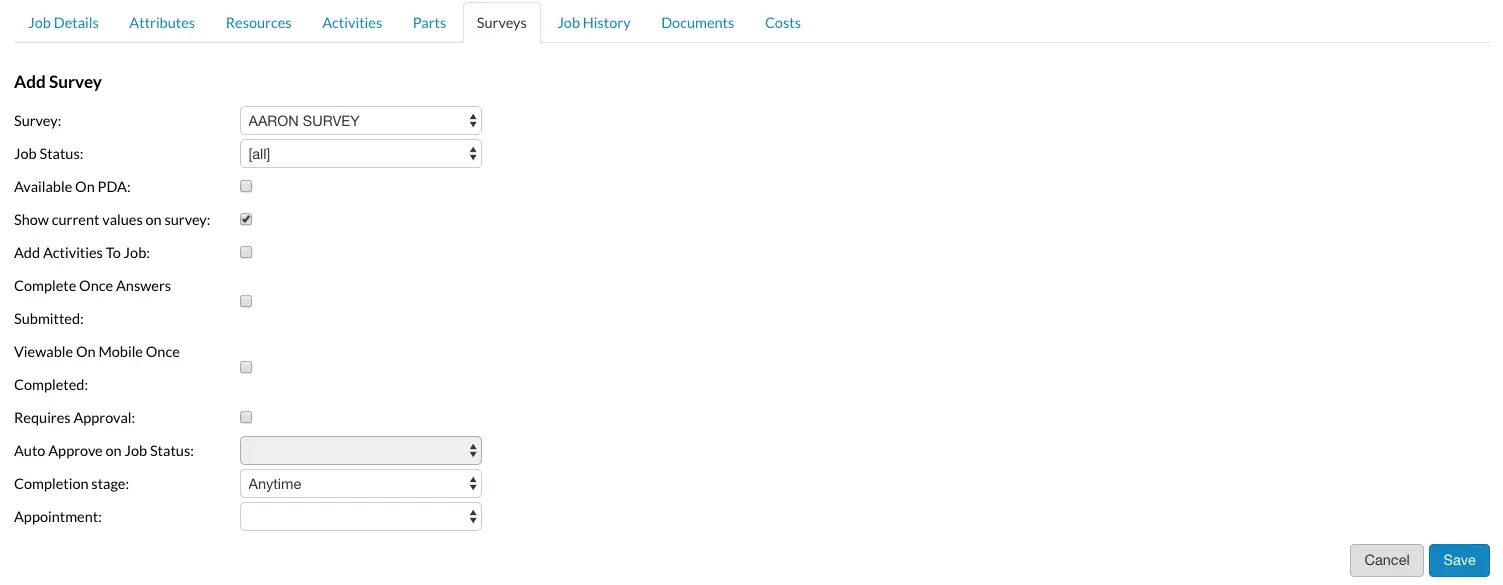
- In the job details page go to the survey tab and click on the 'Add Survey' button

- Select the survey name from the drop down options and leave all other fields as they are defaulted. Click on the 'Save' button and the survey will then be available on the job to be completed
Updating a survey in the application
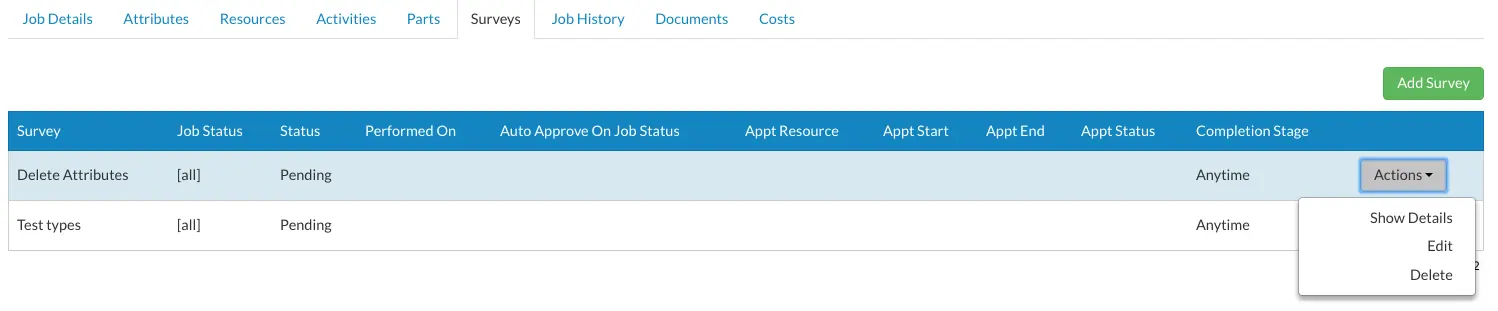
- If you wish to complete a survey in the application rather than on a mobile device, select the 'Show Details' option from within the 'Actions' menu next to the applicable survey.
- Enter the date that the survey was undertaken in the 'Survey Date and Time' field, shown in red (This will default to the current date and time)

- Then select the link 'Main details'

- This will then display the sections to be completed, in the example below there is only one section, called 'Delete Attribute Example'. Select this link to display the questions within the survey

- Complete all the required fields, shown in green on the below example

-
To navigate through the sections of a survey, use the '^' button that appears to the left of the section both at the top and bottom of the section. Clicking the '^' button will save the survey results as entered and will be retained if the user clicks 'Cancel and return to Job' or closes their browser. The '^' are highlighted on the above screenshot in red.
-
Once all fields have been completed and after clicking '^'to navigate back to the 'Main Details' section, enter/check the 'Survey Date and Time' and click on the 'Save and Complete' button at the top of the screen in the summary information, highlighted in red above.
Printing a survey
- If a document has been associated to the survey, once it has been completed and saved the document can be printed by selecting the 'Print Survey' from within the 'Actions' menu option next to the relevant survey

-
On selecting this link your browser will download the document, ready for you to open it in the relevant software
-
If you select 'Print Survey' the document that has been downloaded will then be stored in the Documents tab of the job details page - It can then be viewed at any point in the future
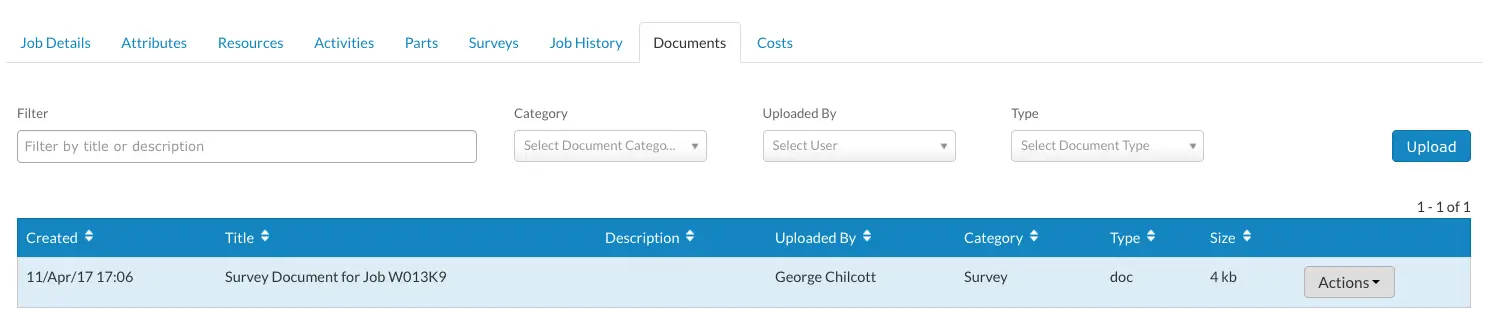
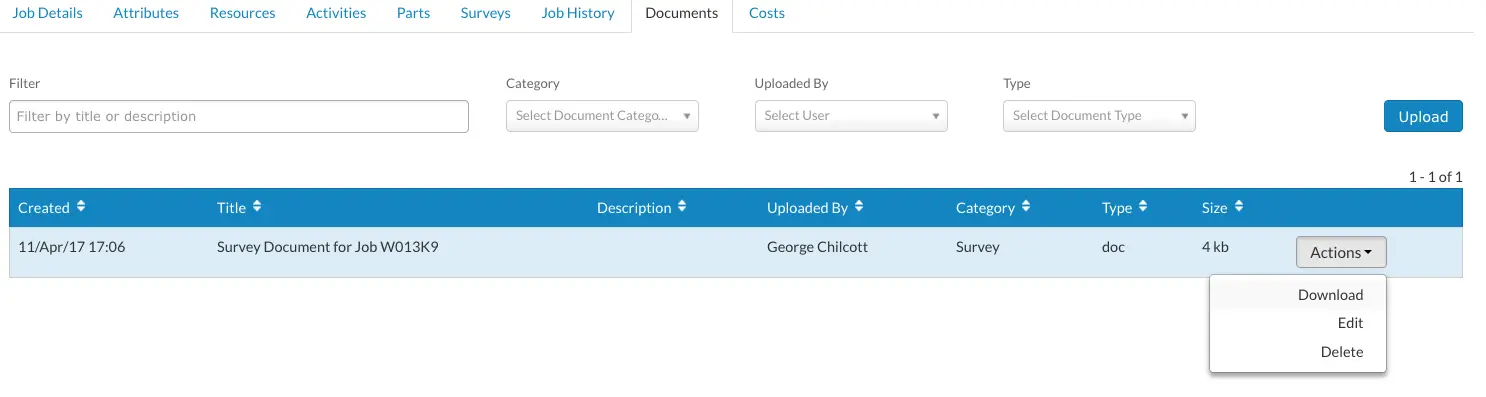
- To view the document, simply select 'Download' on the 'Actions' menu on the item to open it
Surveys can also be printed in bulk using the bulk job update process - For more information please go to the Bulk Job Update article.
Survey Status
When you configure your survey against a work type you will have the option to select a status. The status will determine when you will have the 'Show Details' option against the survey, if you don't set a status for the survey the 'Show Details' options will be available at any job status.
If you would like to change the status of one job survey
- Open the job and go to the survey tab
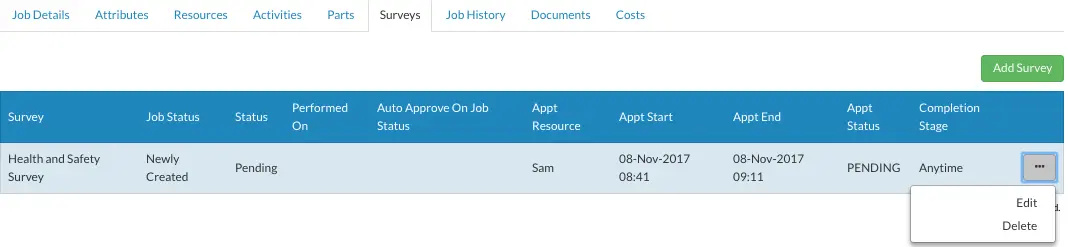
- Your survey will need a status of Pending to use the action drop-down
- Select the edit option
- Change the job status dropdown and save the changes
This example is showing the job status needs to be at Newly Created therefore the Show Details option in the drop-down is not available.
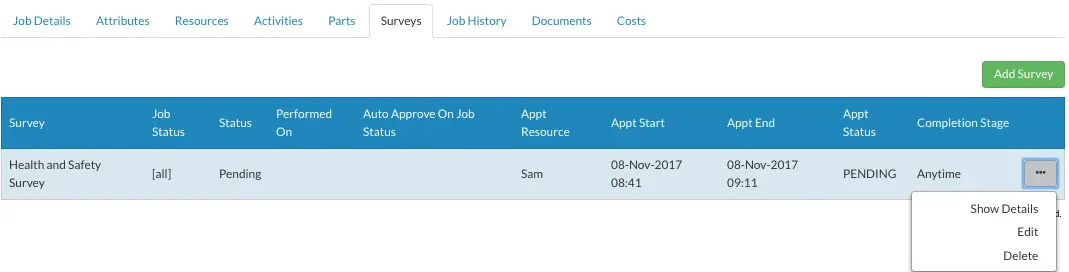
This example doesn't have a job status set therefore the Show Details will be available, this will be similar to the view you will have when the job status matches the status of the survey.
If you would like to amend the status against the survey for all jobs against a work type follow these steps
- Select the cog for the admin menu
- Click on the Work Type page
- Select the work type you need to amend the survey against
- Click on the Survey tab at the top
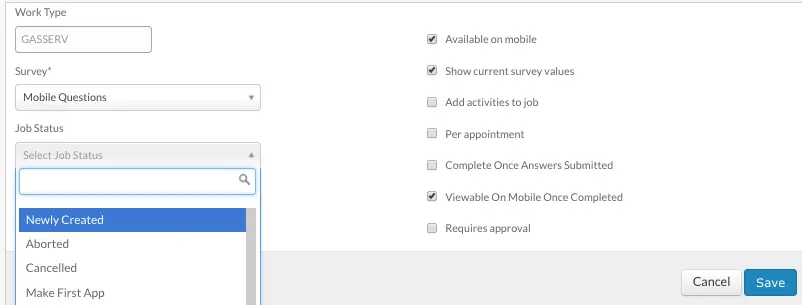
- Click on the edit pencil against your survey
- Change the value in the 'Job Status' column, if you select the blank row at the top it will let the survey appear at any status
For more details on configuring Work Type Surveys please click here